AI visualisation · 3 Sept 2026
Floor Plan to Photoreal: the Visualisation Workflow
Oracreative · Updated 19 Aug 2026
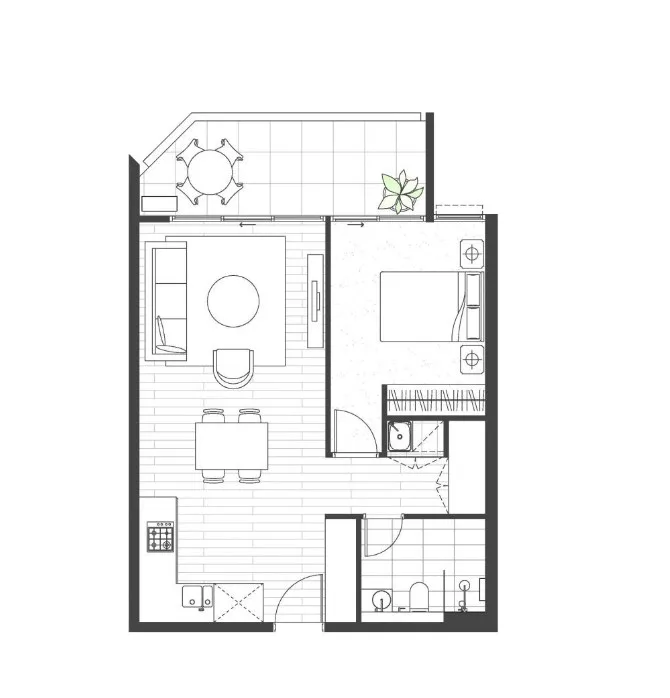
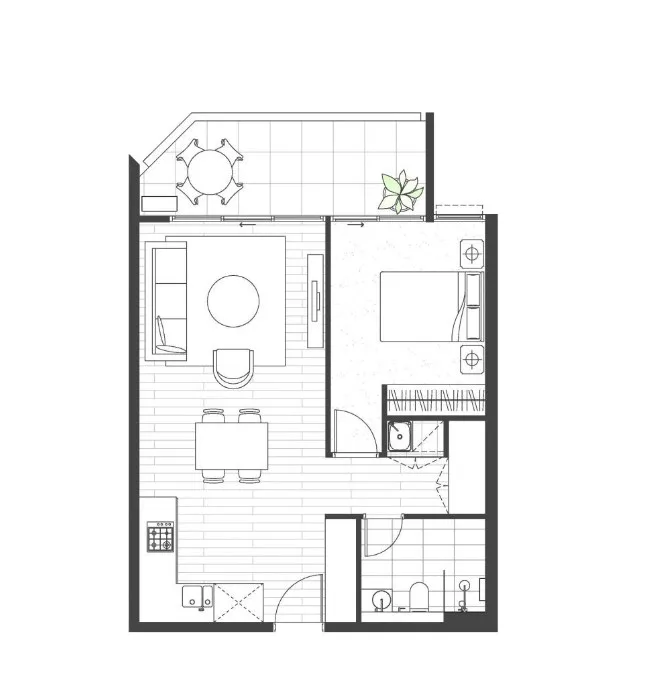
Every property film I make begins the same way. Not with a camera. With a drawing. A floor plan is the one document every development already has, and it holds the truth of a home: room sizes, ceiling heights, and where the light lands. Going from a floor plan to photoreal footage is the craft I have spent the last few years learning. This piece walks through the real workflow behind it, start to finish, with the honest parts left in.
I run Oracreative, a new Sydney studio focused on AI property visualisation. New as a business, but not new to the work. I have spent about three years making video, and every piece in my portfolio was built by me, not outsourced. I have also produced one film for a real estate agent at no cost. I said no at first, then made it free once the developer approved the renders. So I will not pretend to have a long client list. Instead I will show you how the work is actually done.
What floor plan to photoreal really means
Photoreal means an image that reads as a photograph, not a cartoon. A year ago, AI interiors often gave themselves away. Plastic light. Melted edges. Furniture that bent in strange places. The tools have moved quickly since then. A careful frame now holds up on a large display-suite screen. That shift is what turns this into a real marketing option rather than a novelty.
But photoreal on its own is not the goal. The goal is a photoreal home that matches the actual apartment. That is where the drawing comes in. It is the line between a pretty picture and a picture you can put in front of a buyer with a clear conscience.
People mix this up with two other things. A single static render is one frozen image. A 3D flythrough is a technical walk of the geometry, often cold and grey. Floor plan to photoreal work sits between them. It borrows the render's accuracy, then treats the output as film, with light, pacing, and sound. I use the same craft across every AI property video I make, whether the home is finished or still on paper.
Why the floor plan is where I start
A render that ignores the plan is a liability. Buyers commit to a home they cannot yet stand inside. They put down a deposit on a drawing and a promise. Renders help them imagine it. But a frozen image is easy to scroll past on portals like realestate.com.au and Domain. Motion does the emotional work that a still cannot.
The plan is also the fastest way to keep everyone safe. It tells me the exact width of the living room, the height of the ceilings, and which way the balcony faces. I set the virtual camera to those numbers. So the space on screen is the space in the contract. Nothing is stretched to look bigger. Nothing is lit to fake a view that is not there.
There is a marketing reason too. The best window in a launch is the first few weeks. Interest peaks, and the best stock is still available. That is exactly when there is no finished apartment to photograph. A film built from the plan reaches those early buyers when it matters most. If you are new to the format, my guide to AI architectural visualisation covers the marketing side in full.
Think about who those buyers are. Many are interstate or overseas. Some are investors who buy on numbers and a feeling. They may never set foot in the display suite. A film reaches them at full strength, and it plays the same on a phone in another city as it does on the suite's big screen. The plan is what lets me build that film long before the keys exist.
My workflow, step by step
The process is more grounded than "AI video" makes it sound. I break it into four stages, and I get sign-off between them. That keeps changes cheap and the timeline calm.
First, geometry. I read the floor plan and the elevations. I fix the room sizes, the window positions, and the sightlines. This is the honest skeleton of the whole piece. Get it wrong here and every later frame inherits the error.
Second, the look. I set materials, palette, and styling to the development's real finishes schedule and its target buyer. A downsizer's apartment is dressed differently from investor stock. Where a finish is not chosen yet, I flag it rather than guess.
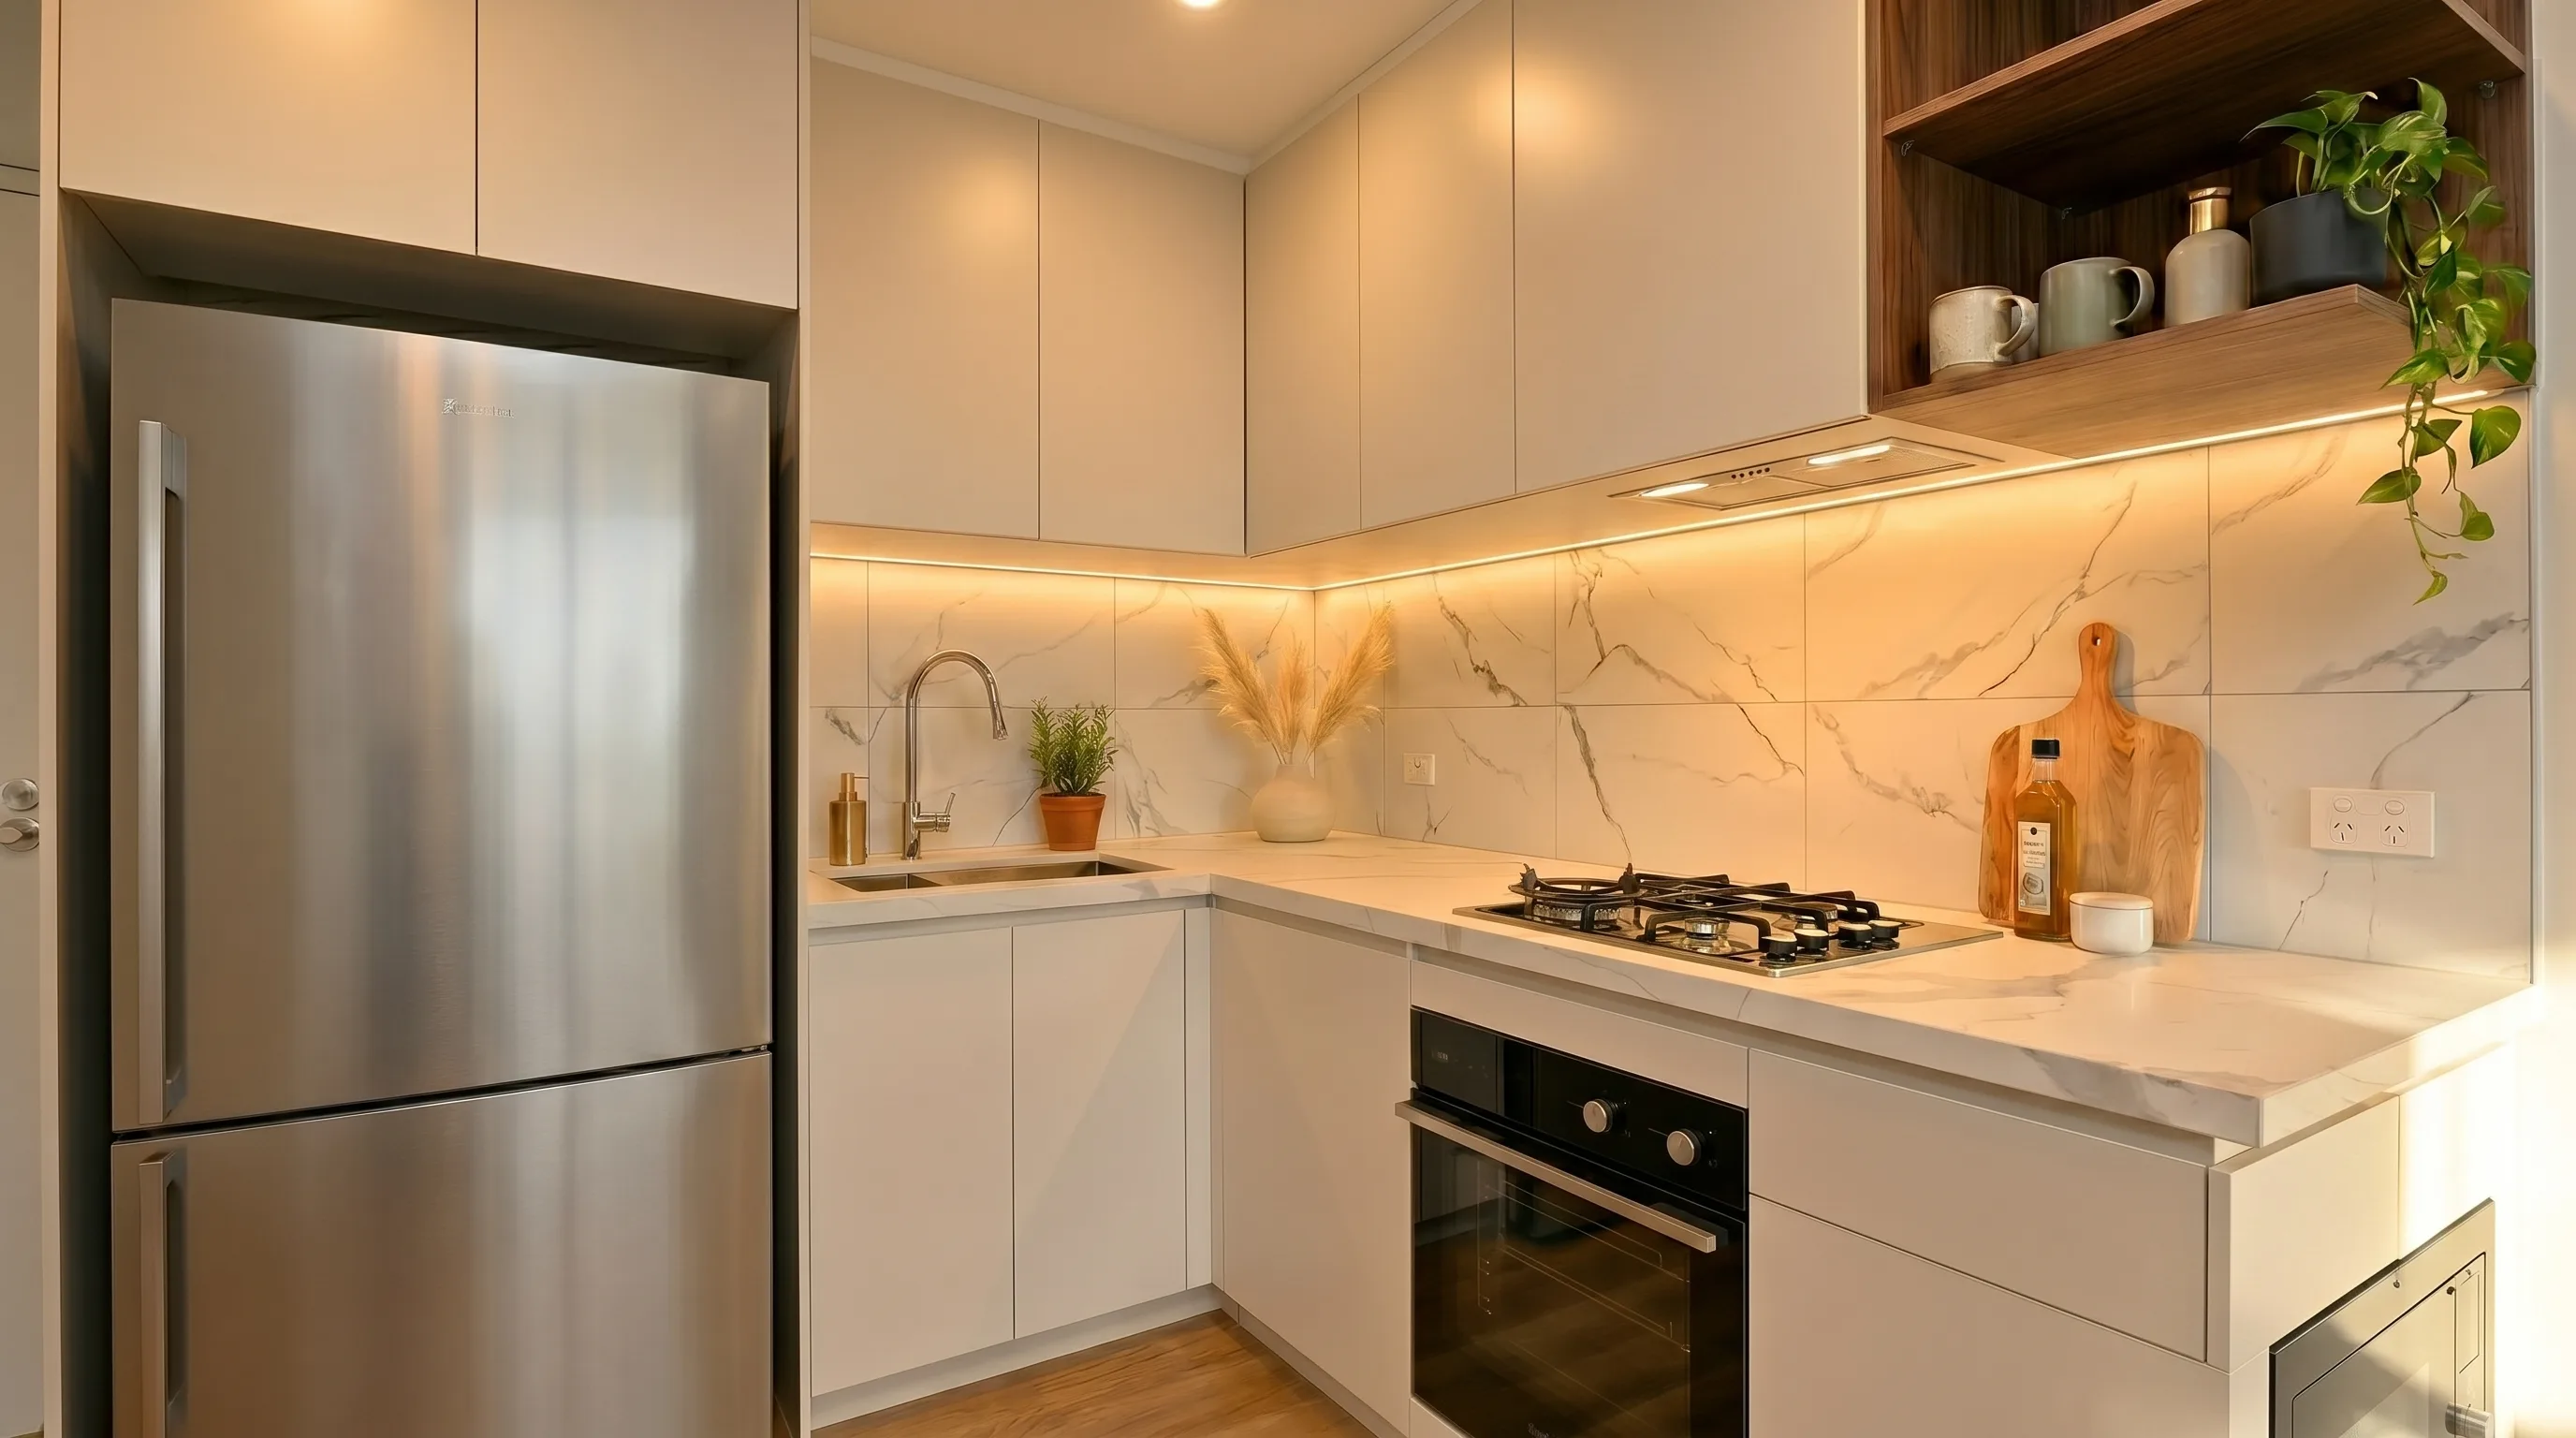
Third, the anchor frames. I render the key stills first — the exterior, the living room, the kitchen — and get them approved. Only then do I generate motion. Locking the look before animating is the single biggest time-saver in the whole job.
Fourth, the edit. I cut the moving shots like a brand film, with considered pacing and real sound. A music bed, some room tone, and restraint separate a premium piece from a slideshow. You can see the range in the work I have made, from full launches to single-room studies.
Motion is where care shows most. I keep the camera slow and deliberate. A gentle push through the living space. A soft reveal of the balcony. Quick, jittery moves are the fastest way to break the illusion, so I avoid them. Each shot earns its place, and I cut anything that does not move the story forward.
Where a client has real assets, I fold them in. Drone footage of the street, suburb photography, or the developer's existing renders combine with the generated material. That anchors the piece to the real location. It also keeps the film consistent with any marketing already in market, so the brand feels like one voice.
Want to see it on your own stock? Start a free pilot → — one property, one finished video, no cost.
Keeping the render honest to the plan
Accuracy is not a nice-to-have here. It is the whole job. The film markets a home that does not exist yet. So it has to stay true to the approved plans and finishes. A frame that oversells a view or a ceiling height is not just poor taste. It is a compliance risk.
I treat three things as non-negotiable. Room proportions match the plan. Views reflect the real aspect and floor level. Finishes match the schedule the buyer will actually receive. When a detail is still open, I say so on the brief instead of inventing it.
There is a trust cost to getting this wrong. A buyer who feels misled at handover will talk. In a market this size, that travels fast. So I think of accuracy as marketing, not only as a legal box to tick. An honest film protects the developer, the agent, and the buyer at the same time.
This is also why the plan sits at the centre of everything. It is the shared reference that keeps my creative choices tethered to the real building. The light and the mood are mine to shape. The geometry is not.
What a visualisation like this costs
The honest answer is that it depends on scope. But the cost drivers differ from a traditional shoot, and they are usually lower. There is no crew, no location, no travel, and no gear. There is no wait for the building to be finished. Price tracks three things: the number of scenes, the level of finish, and how many revision rounds you need.
It helps to know what usually sits inside a package. A typical single film includes the exterior and the main living spaces, a music bed with considered sound design, one or two rounds of revisions, and delivery in the formats you need for portals and social. The extras move the price: more apartment types, a lifestyle sequence, extra revisions, or bespoke music.
Lower cost does not mean lower quality. The savings come from skipping the shoot, not from cutting the edit. The grade, the sound, and the pacing are where the time still goes. That craft is the part a buyer actually feels. The table below compares the two routes at a glance.
| Aspect | Traditional render or shoot | Floor-plan-to-photoreal film |
|---|---|---|
| When you can start | After completion, or a long render pipeline | From the plan and finishes, pre-construction |
| Typical turnaround | Weeks, driven by scheduling | Days to two weeks, driven by revisions |
| Empty or unbuilt rooms | Needs staging or the finished space | Built from the drawing, furnished virtually |
| Main cost drivers | Crew, gear, location, travel | Scenes, level of finish, revision rounds |
| Best suited to | Finished, photogenic listings | Off-the-plan launches and empty stock |
Timelines follow the same logic. With no shoot to schedule, most single pieces land within one to two weeks. Revisions drive the calendar, not logistics. Name one person to give consolidated feedback, and the whole thing moves faster.
Where floor plan to photoreal falls short
An honest guide names the trade-offs. AI is strongest when a project is still on paper. It is not a fix for every case. Say a building is finished and genuinely photogenic. Then a good traditional shoot can catch texture and spontaneity — real people, real weather — that a built-from-drawings film has to work hard to match.
The output is also only as good as the inputs. A vague plan, no finishes, and no sense of the buyer produce a generic film. Rich inputs make a sharper result, faster. So I would rather scope a project honestly than pretend the tools remove every constraint.
There are things I will not do, as well. I will not fake a harbour view onto an apartment that faces a car park. I will not smooth over a small bedroom to look like a large one. If the render cannot be both beautiful and true, truth wins, and I will tell you why. That line is what keeps the work worth trusting.
Finally, this is a young craft. The tools improve month to month. What looks flawless today may look dated in a year. I build with that in mind, and I am upfront about where a frame is pushing the current limit.
There is also a human limit worth naming. Some sequences still need a real hand to look right. Reflections in glass, the exact fall of afternoon light, the way fabric creases on a sofa. I fix those by eye, frame by frame, rather than trusting the first output. That patience is slow, and it is exactly what a quick tool cannot do for you.
Getting more from one production
The developments that win treat a film as a campaign asset, not a one-off. A single build can be cut several ways. A sixty-second hero film for the launch. Fifteen-second vertical clips for social. A silent loop for the display suite. A longer walkthrough for the portal listing and the investor pack.
Plan those outputs before production starts. It costs nothing extra, and it decides where a single piece can travel. The same visual language also carries into still images, virtual staging of the empty apartments, and the development's website. The brand then feels consistent from the first impression right through to the contract.
Because the film is built from data, it is easy to refresh. If a finish changes late, I update the affected frames instead of re-shooting a real room. That is far cheaper than any physical redo. A teaser can build a waitlist before launch, the hero film anchors the launch itself, and shorter cuts keep the campaign alive as stock sells. One production, released with intent, does far more than a single clip posted once.
How to brief your first visualisation
You need less than you might think. To start, gather a few things. The floor plans and elevations. Any renders or a finishes and materials board you already hold. A clear idea of the buyer — downsizer, first-home investor, or family. A reference film or two you admire. And a note on where the piece will run.
The buyer matters most. That one decision shapes the styling and the story more than anything else. Where the film will run then decides the cut. A portal listing, an Instagram reel, and a display-suite loop each want a different length. Plan those outputs before production starts. It costs nothing extra and multiplies where a single piece can go.
Expect to be involved early, not all the way through. I come back first with the anchor frames. You approve that look before I animate anything. After sign-off, most projects need only a round or two of notes. It is a light lift on your side.
A short brief, written before the first frame, saves the most time. A line on the buyer. A note on the finishes. A reference or two, and where the film will run. That is enough for me to start, and it keeps every revision focused on craft rather than re-arguing the concept.
The simplest way to test all of this is the free pilot I run each month. I produce a complete video for a real listing or off-the-plan project, at no cost. You judge the result on your own stock before committing to anything. Rights first, film second — that order never changes.
Frequently asked questions
- What does floor plan to photoreal mean?
- It means turning a flat 2D floor plan into moving footage that reads as a real photograph. The plan fixes the room sizes and sightlines, and AI rendering plus an editor's craft add light, materials, and motion, so a home can be shown before it is built.
- Can you make a photoreal video from just a floor plan?
- Yes. Floor plans and elevations are enough to start, because they carry the real geometry. Existing renders, a finishes board, or drone footage of the location make the result stronger and faster, but they are not required to begin.
- How long does a floor-plan-to-photoreal render take?
- Most single pieces are delivered within one to two weeks. There is no shoot to schedule, so the timeline is driven by revision rounds rather than logistics. Naming one person to give consolidated feedback keeps it quick.
- How much does it cost compared with a traditional shoot?
- It depends on the number of scenes, the level of finish, and the revision rounds. But there is no crew, location, or travel to pay for, so it is typically more affordable than a shoot. A single film sits at the lower end; a full suite of apartment types at the higher end.
- Who owns the renders and photos used in the film?
- The developer usually owns the source renders and photography. Before I build a film, I ask for the developer's approval to use them. I once turned a job down until that sign-off was in place. It protects the developer, the agent, and the buyer, and it is non-negotiable.
Planning a property video?
We run a free pilot for a small number of Sydney developers and agencies each month — one property, one finished AI-powered video, no cost.