AI visualisation · 29 Aug 2026
How AI Architectural Visualisation Works, Step by Step
Oracreative · Updated 19 Aug 2026
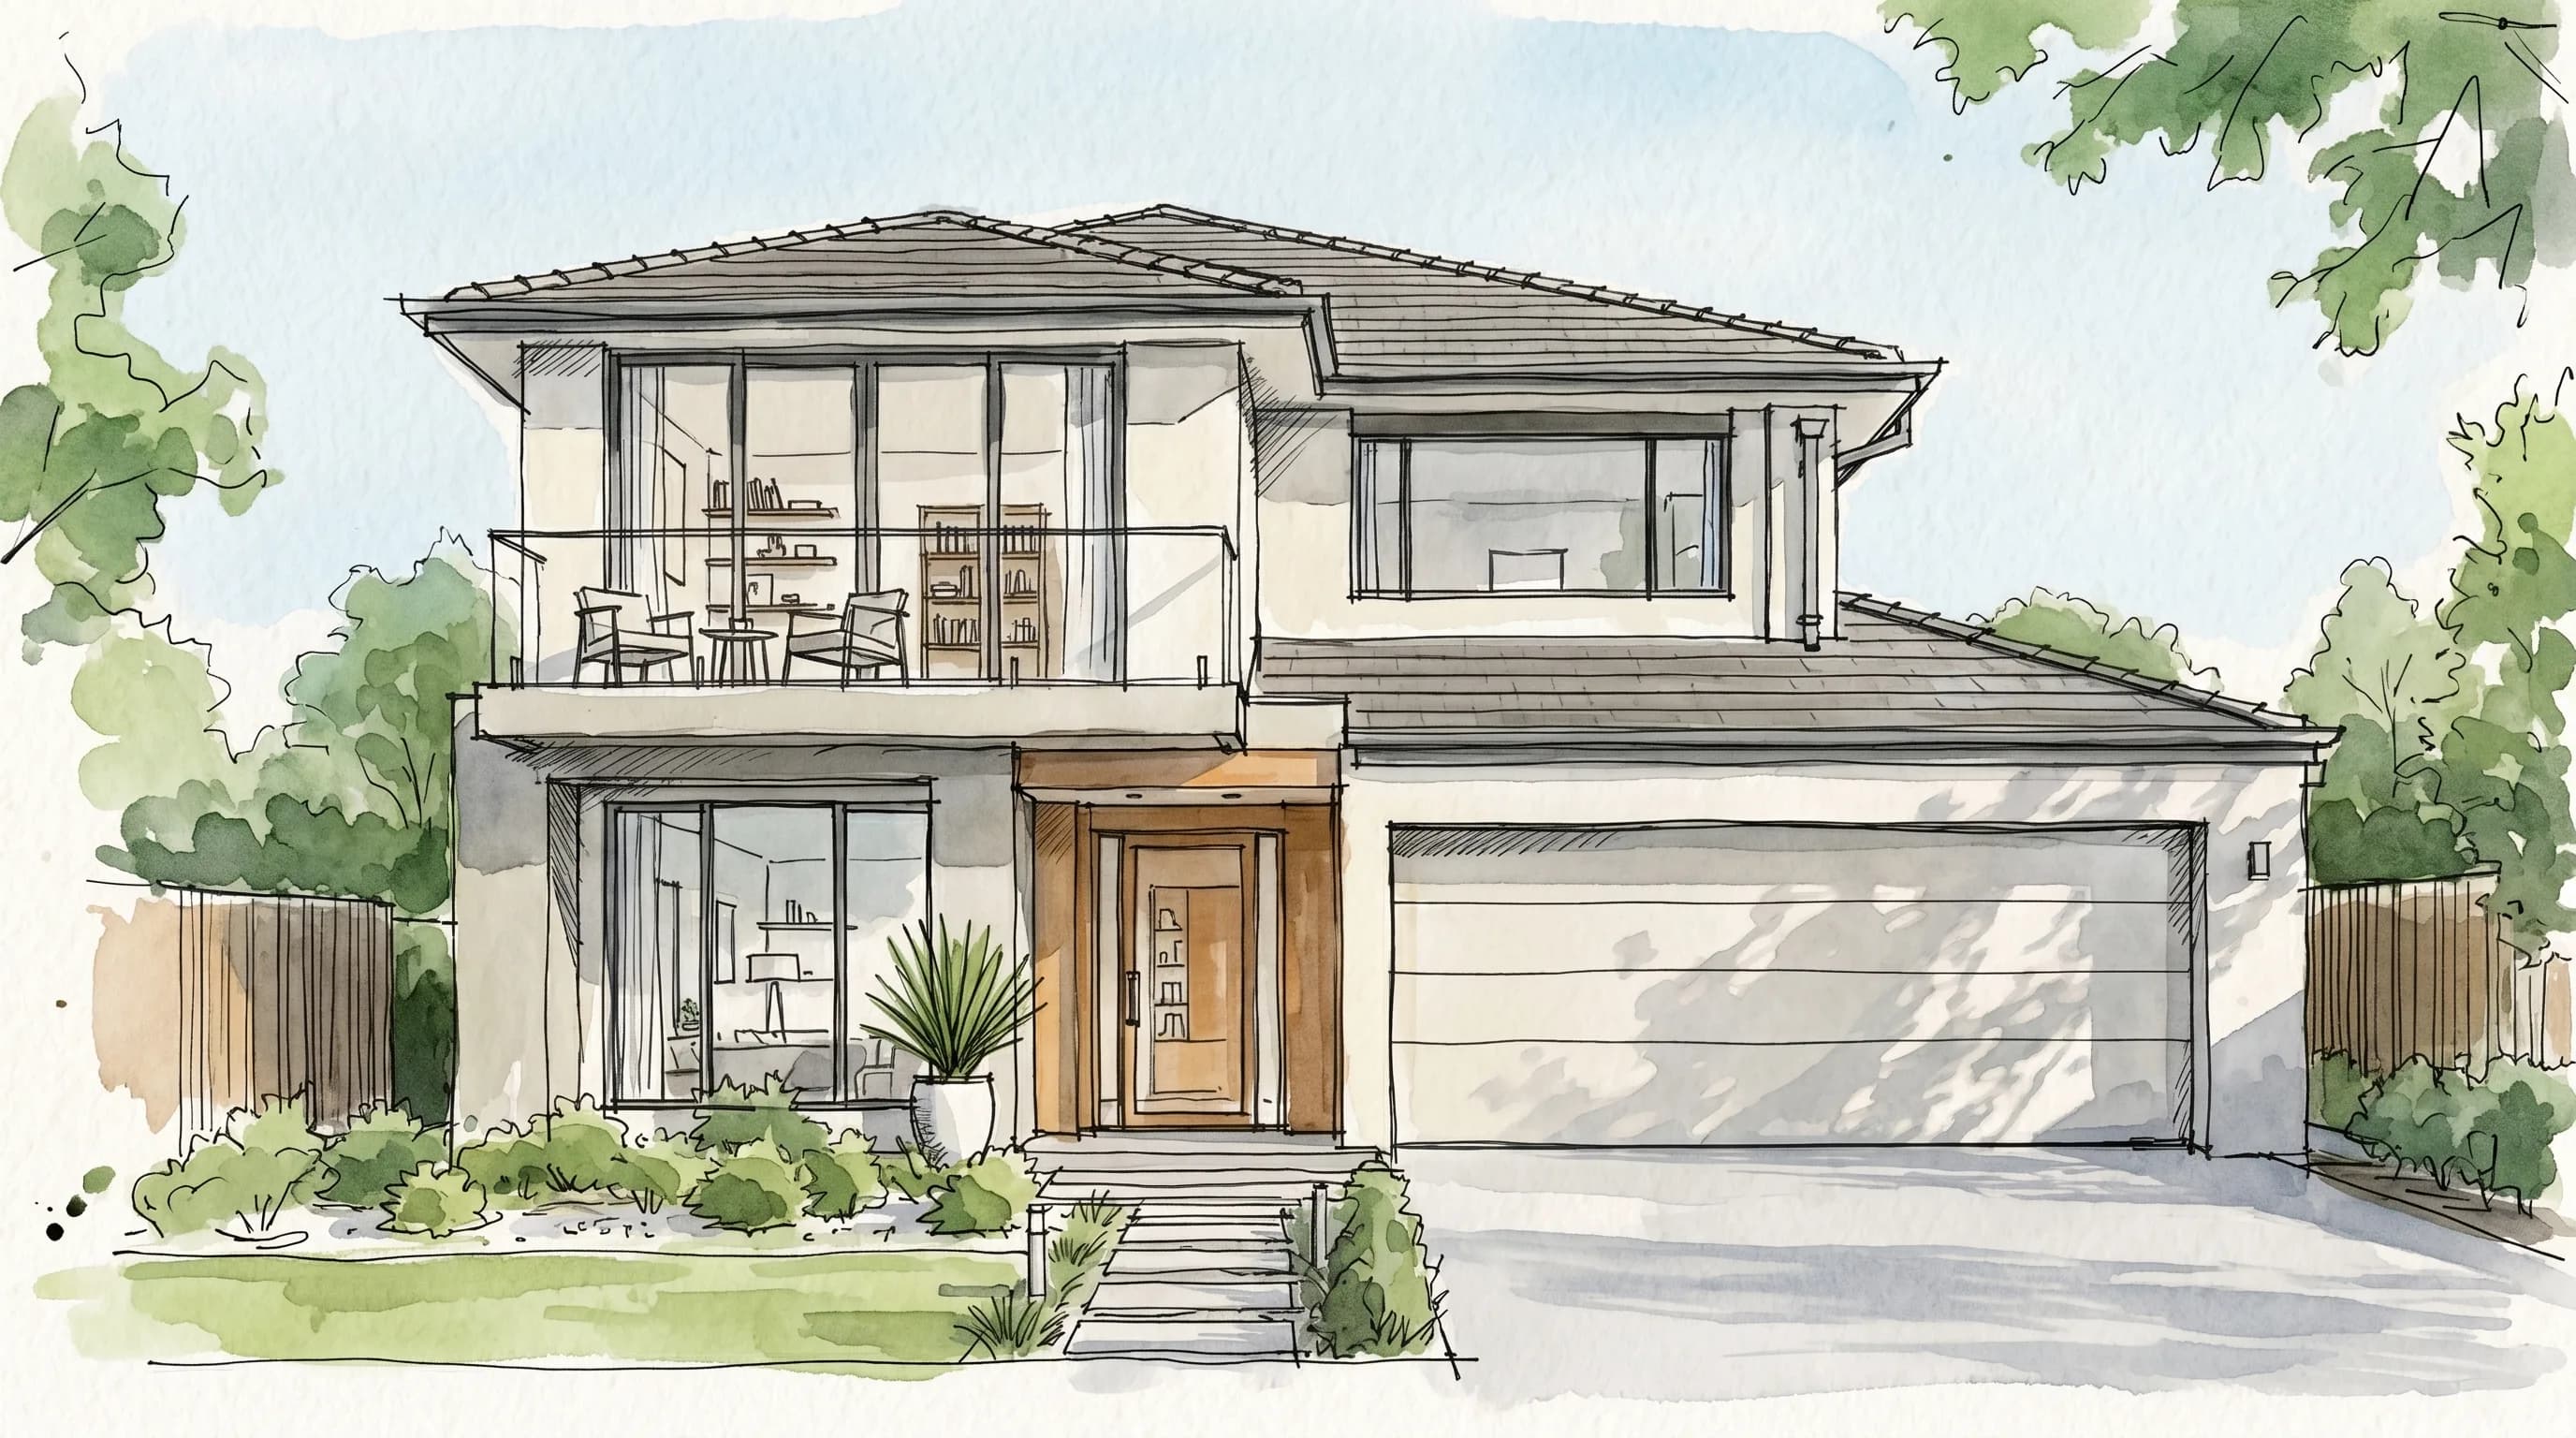
A drawing cannot make you feel a room. A floor plan shows where the walls go. An elevation shows the shape of the roof. Neither tells a buyer what it is like to stand in the kitchen at breakfast, with light moving across the bench. That gap is the core problem in off-the-plan marketing. This piece is about how AI architectural visualisation works, and how I use it to close that gap. The short version: it turns a set of plans into images and film a buyer can actually believe.
I run Oracreative, a small studio in Sydney. I have spent about three years making video. It began with all sorts of subjects, then homes pulled me in. Now I build property visuals with AI, and I have made every piece in my portfolio myself. I will not quote a long client list, because I do not have one yet. What I do have is the process, run many times on my own concept work. So I will show you how it actually happens, honestly, without dressing it up.
What architectural visualisation means now
Architectural visualisation is the craft of showing a building before it exists. For years that meant a 3D render studio. An artist modelled the geometry by hand. They set lights, dropped in materials, and let a machine render each frame for hours. It was slow and expensive. It was also very good, when the budget allowed.
The job has not changed. The tools have. Today I can take the same drawings and reach a photoreal image far faster, using AI. The skill has shifted from modelling every polygon to directing the result. You still need an eye. You still need to know how a real Sydney home sits in its light. But the path from plan to picture is shorter.
Why does this matter for selling? Most buyers first meet a development as a small image on a portal like realestate.com.au. That thumbnail has to carry the whole pitch. A flat, generic render loses. A warm, believable one earns the click. Visualisation is no longer a nice extra. It is the first impression.
There is a cost story too. Old-school 3D rendering could run into serious money per image. That put it out of reach for smaller developers and single listings. Faster AI production lowers that floor. A boutique project or one standout apartment can now justify a proper visual. That is the quiet shift. Good visualisation is no longer only for the big towers with big budgets.
How AI architectural visualisation works, end to end
Here is the honest map. AI architectural visualisation works as a pipeline with four rough stages. You gather the inputs. You lock the geometry so the spaces are true. You style the light and materials to the real finishes. Then you generate the images, grade them, and, if needed, put them into motion. Each stage feeds the next. Skip one and the whole thing looks off.
The word "AI" makes people picture a single magic button. It is not that. The model does the heavy lifting on pixels. The decisions are still mine. Which angle sells the living space. How high the sun sits. Whether the render is honest to the plan or quietly flattering. That is the craft, and it is the same craft behind our AI property video work, applied one step earlier in the timeline.
So when someone asks how AI architectural visualisation works, the truest answer is: it is a disciplined process with an AI engine in the middle, not a toy. The engine is fast. The judgement is human. Let me walk through each stage.
It starts with the developer's drawings
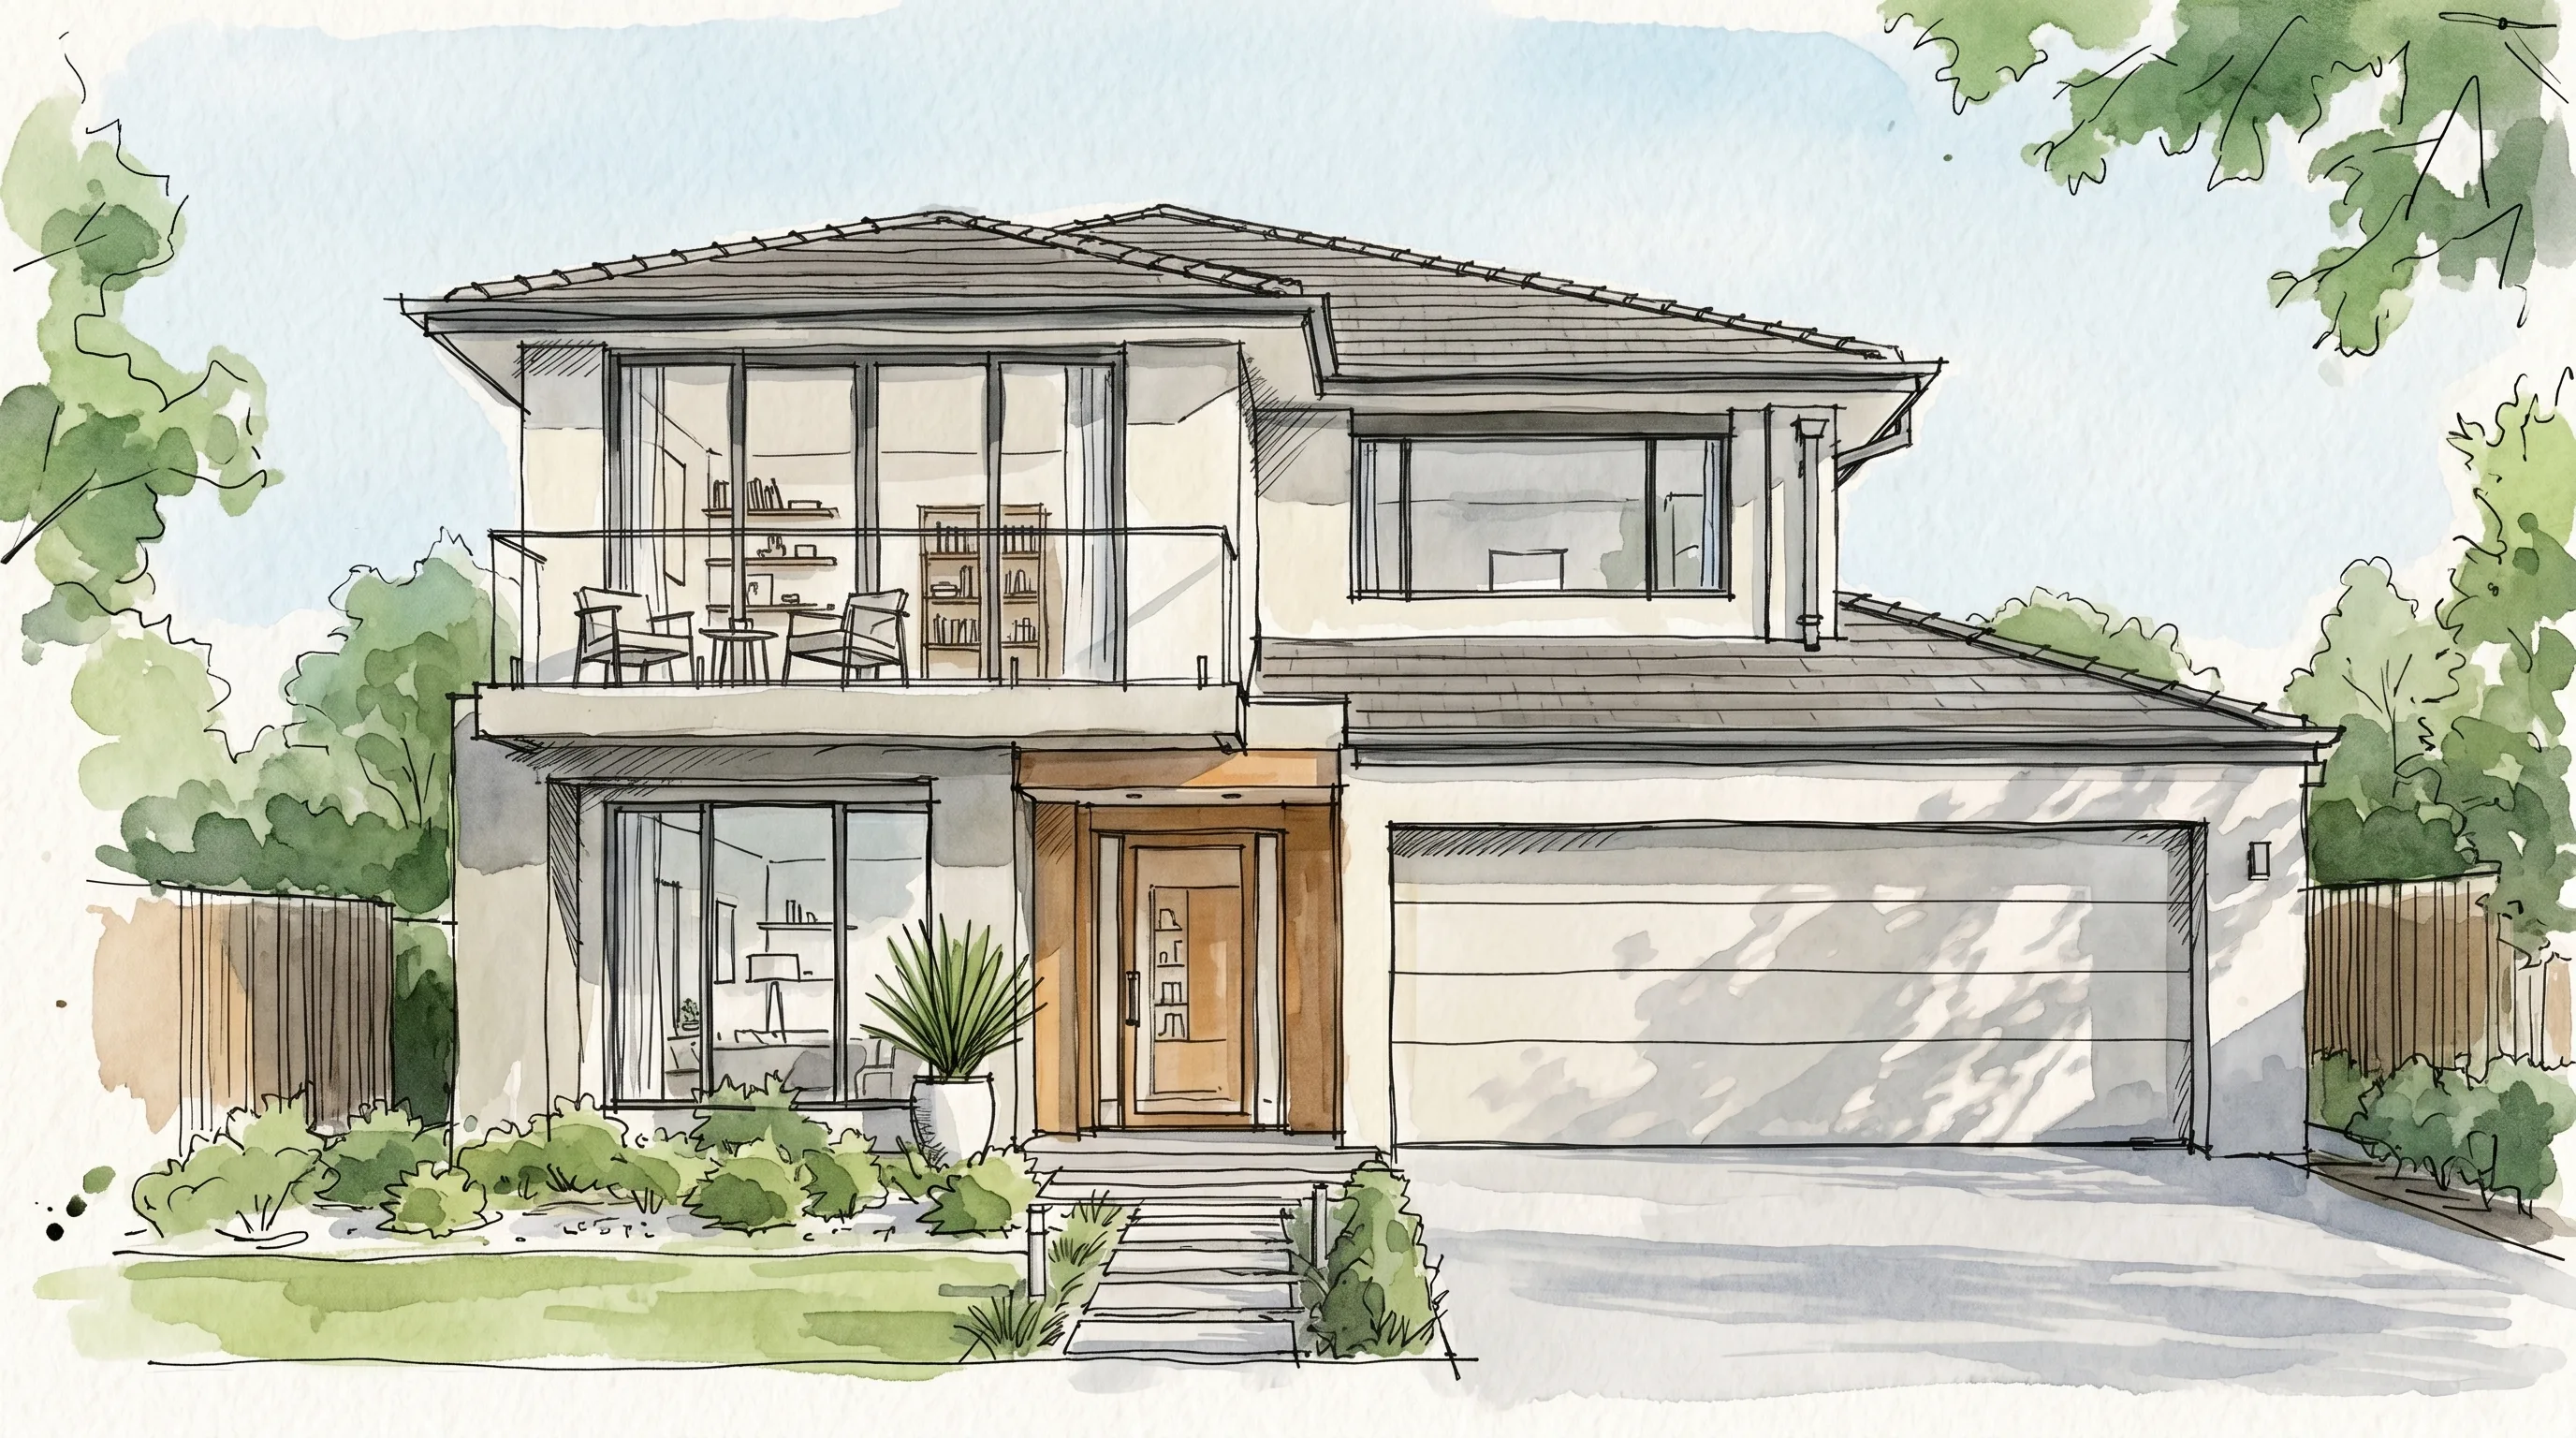
Nothing good happens without good inputs. I start with what the project already has. Floor plans give me the layout and room sizes. Elevations give me the facade and roof. Sections show ceiling heights and how levels stack. A material schedule tells me the real finishes: the brick, the timber, the stone, the joinery.
Site details matter just as much. Which way does the block face? Where does the morning light land? What is the real view, and what is next door? I would rather know a view is blocked than invent a harbour that is not there. The drawings anchor the whole render to the truth of the site.
I also ask a few plain questions early. Who is the buyer? A first-home owner, a downsizer, an investor? What feeling should the home give off on the first glance? Those answers shape every later choice, from the styling to the light. A render with no audience in mind tends to please no one.
There is a rights question buried in here, and it is not optional. Those drawings and any existing renders are usually the developer's copyright, or the architect's. So I do not build anything until I know I am allowed to. On my one real pilot, an agent asked me for a film. I said no at first. I only started once the developer approved the use of the renders. Rights first, picture second. Always.
Locking the geometry before the look
This is the stage most people skip, and it is the one that keeps a render honest. Before I think about beauty, I fix the bones. Room proportions match the plan. Ceiling heights match the section. Windows sit where the elevation puts them. Sightlines through the home follow the real layout.
Why be this strict? Because I am marketing a home that does not exist. If the render shows a three-metre ceiling and the contract delivers 2.7, that is not a small fib. It is a problem the buyer can measure on handover day. Getting the geometry right is what separates a marketing asset from a liability.
There is a second reason to lock the bones early. It makes revisions calm. When the layout is agreed and signed off, later notes are about taste, not structure. We are debating a sofa or a wall colour, not whether a room is the right size. That saves days. It also saves the awkward conversation on handover.
I will not walk you through my exact settings or the prompts I have refined. That part is my own work, built over a lot of trial and error. But the principle is simple, and you can hold me to it. The space on screen should be the space in the plan. When a finish or a dimension is not decided yet, I flag it rather than guess. A believable render is not the same as an invented one.
Materials, light, and the feeling of a place
Once the bones are true, the room can become a home. This is the stage that people feel, even if they cannot name it. I set the palette and the finishes to the real schedule. Warm oak floors if that is the spec. A stone bench if that is what is being sold. The point is to dress the space as it will actually be, not as a stock template.
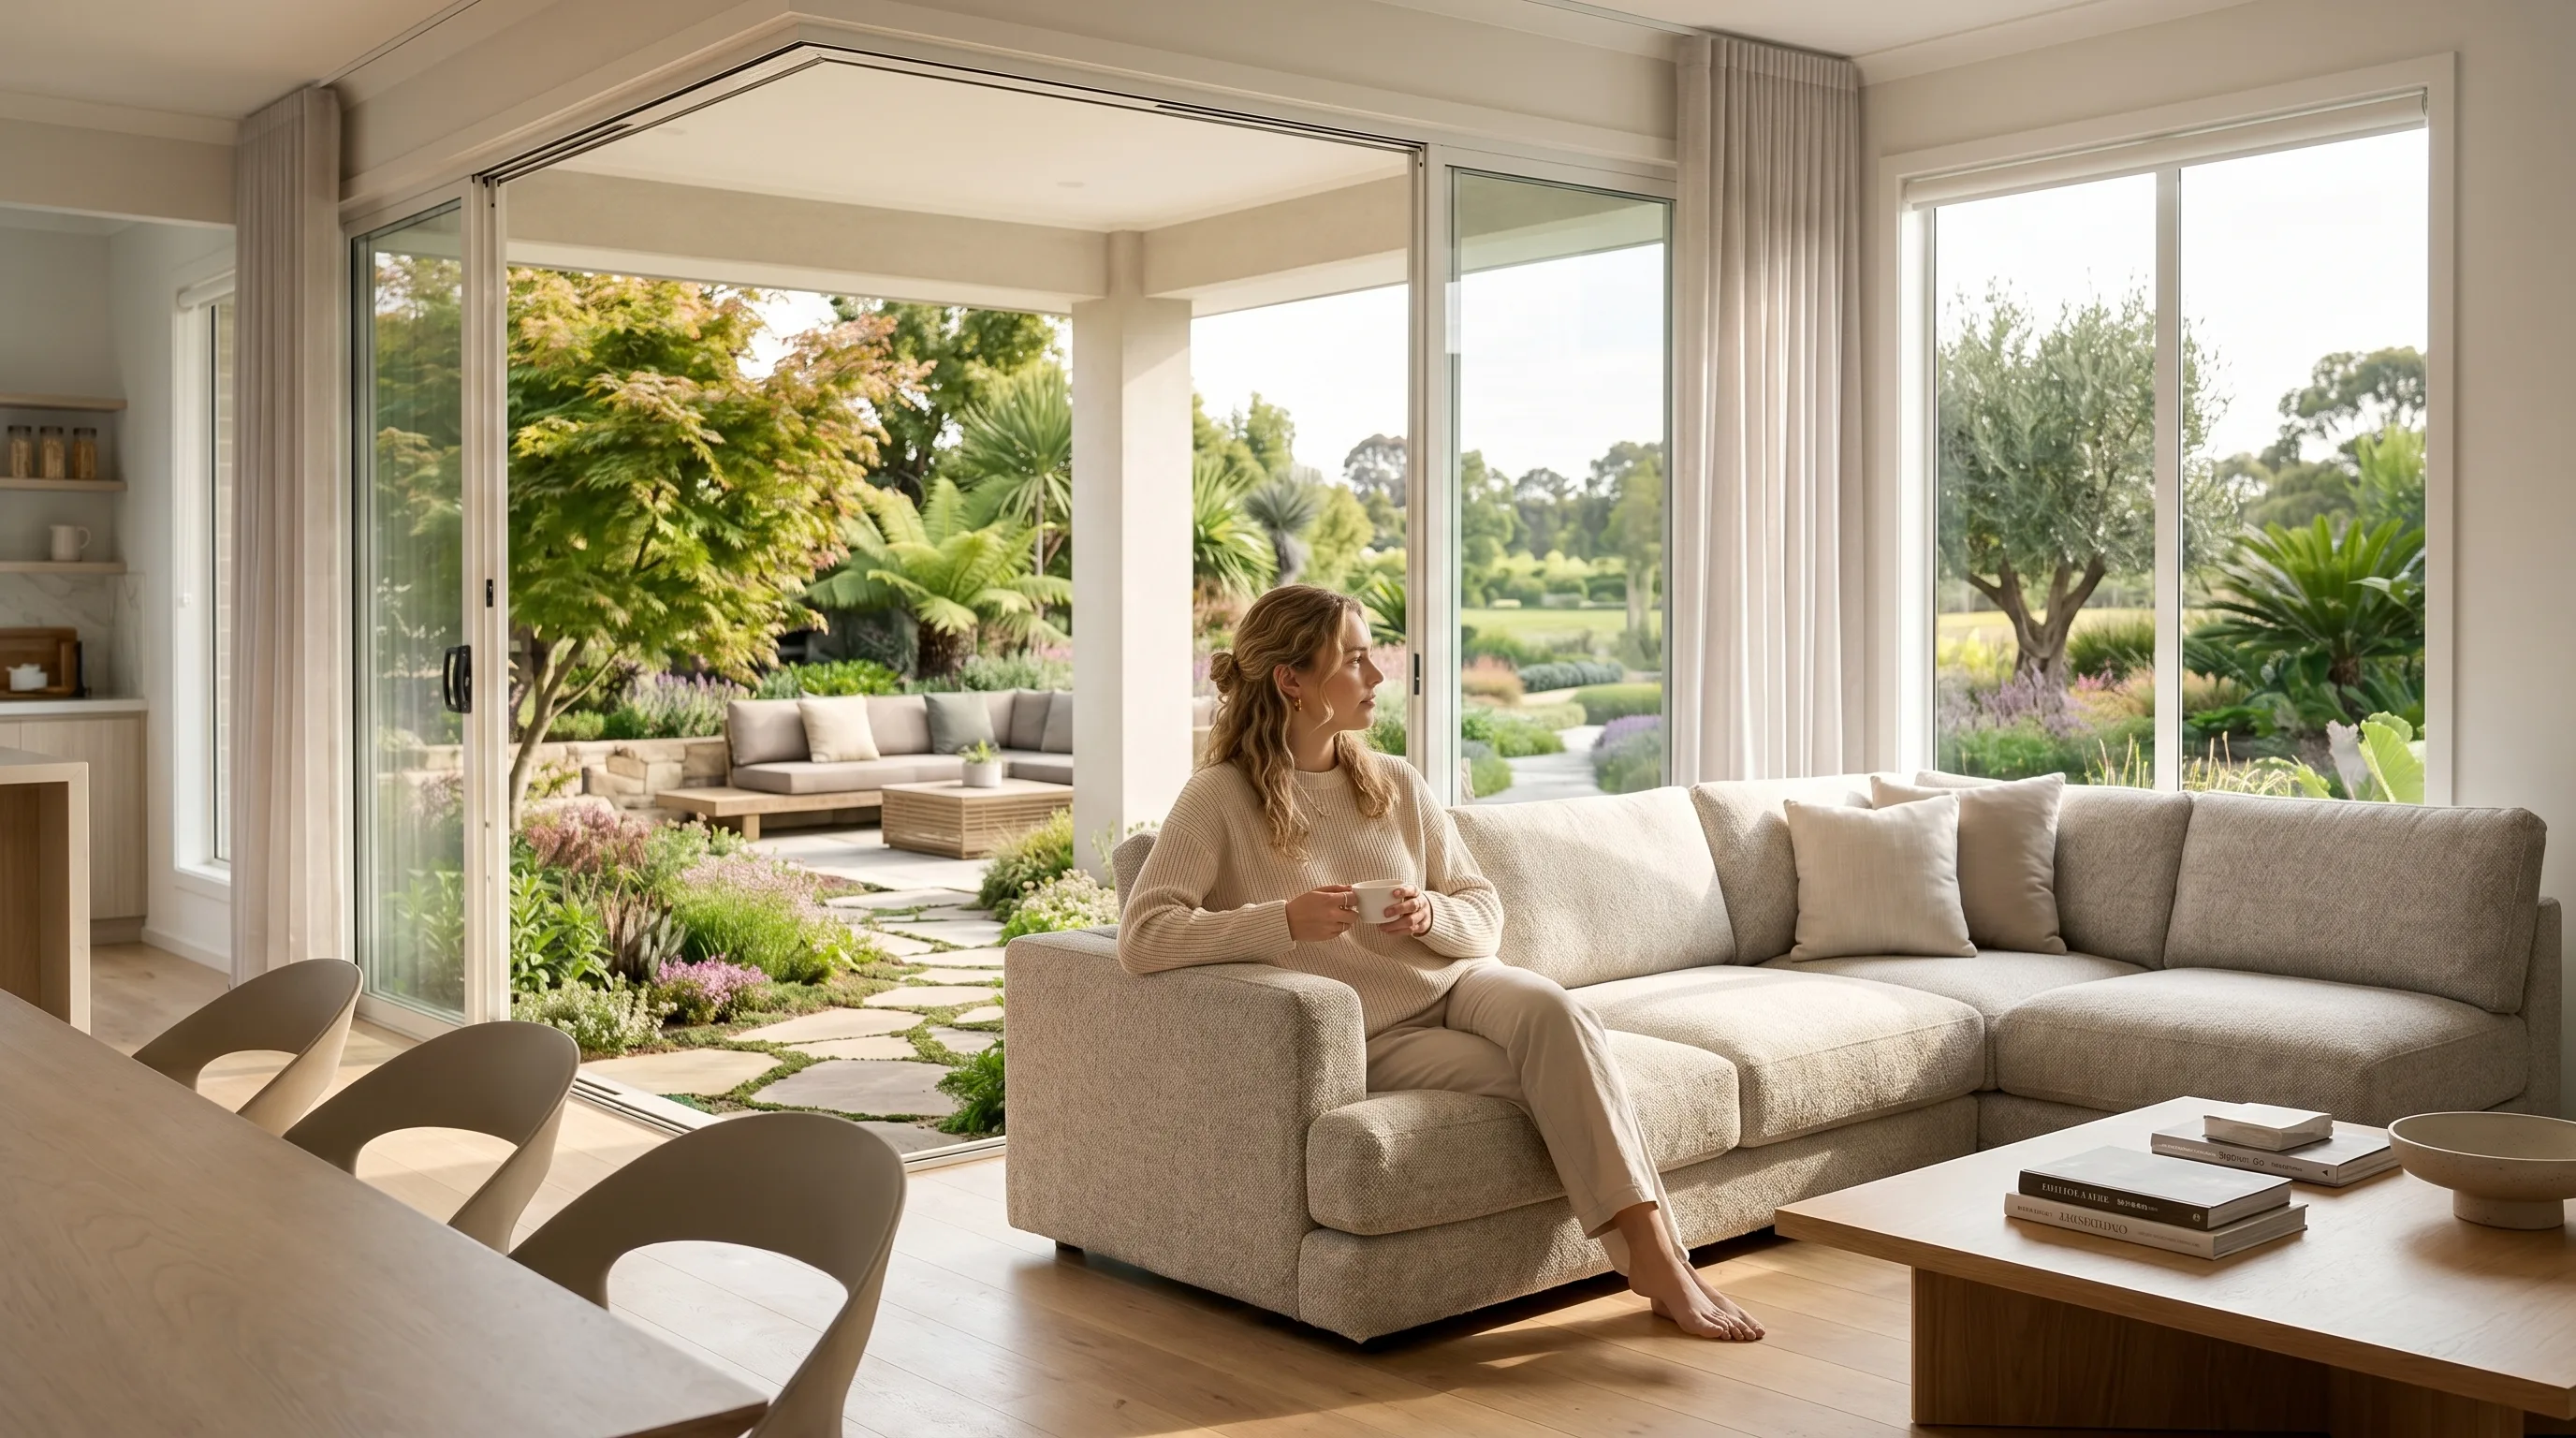
Light does the emotional work. I choose a time of day with intent. A soft morning for a calm bedroom. A low golden afternoon for a living room that opens to a garden. Restraint matters here. A slightly underlit, natural frame reads as real. An over-bright, glossy one reads as fake, and buyers have learned to distrust it.
Styling is the last layer. Furniture, a few plants, a throw on the sofa. I style to suit the buyer, not to copy a brand. A downsizer's apartment gets a different mood from investor stock. The aim is a frame that feels lived in, and still honest to the plan behind it.
One more thing about honesty in the look. Where the sun does not reach, I do not fake it. A south-facing room reads as a south-facing room. Buyers who have viewed a hundred listings can smell an over-flattered frame. Slightly honest beats slightly perfect, every time. Trust is the thing you are actually selling.
The steps, side by side
It helps to see the pipeline laid out. Here is what happens at each stage, what I need from you, and why the stage earns its place. The order is not flexible. Each row depends on the one above it.
| Stage | What happens | What I need from you | Why it matters |
|---|---|---|---|
| 1. Inputs | Gather plans, elevations, finishes, site orientation | Drawings and rights approval | Everything downstream is only as true as this |
| 2. Geometry | Fix room sizes, ceilings, windows, sightlines | Sign-off that the layout is correct | Keeps the render honest and compliant |
| 3. Materials and light | Apply real finishes, set time of day, style rooms | Material schedule and target buyer | This is the part a buyer actually feels |
| 4. Generate and grade | Produce final stills, colour grade, add motion | Feedback on the hero frames | Turns a correct image into a persuasive one |
Revisions are where the time goes
People assume the generating is the slow part. It is not. The engine is quick. The calendar goes to revisions, and that is right where it should go. I lock the hero frames first: the exterior and the main living spaces. I get those approved before anything moves. A wrong choice caught as a still is cheap. The same wrong choice caught in a finished film is not.
Only after the stills are signed off do I generate the moving shots. Then I edit them like a brand film, with real pacing and considered sound. If you are marketing a launch, this is where visualisation meets film. Pair approved stills with a launch film, and one visual language can carry the whole campaign. Where each format fits, and what it costs, is in my full guide to AI architectural visualisation.
I keep hero pieces short on purpose. Long enough to establish the exterior, move through the living spaces, and land on a lifestyle note. Rarely longer than a viewer's patience on a phone. A tight, confident cut beats a long, wandering one. Attention is the scarce resource here, not footage.
Most single projects land within one to two weeks. The range depends on how many rooms, how many apartment types, and how many revision rounds. Logistics do not drive the timeline, because there is no shoot to schedule. Decisions drive it. The more decided a project is, the faster it moves.
What this process cannot do, and when a shoot wins
An honest guide names the trade-offs, so here they are. The honest version of how AI architectural visualisation works includes what it cannot do. It is not a fix for every case, and I will tell you when a shoot beats a render.
First, a finished and genuinely photogenic home is often better filmed for real. A camera catches texture, weather, and spontaneity that a built-from-drawings render has to work hard to match. Second, the output is only as good as the inputs. Vague drawings and no sense of the buyer produce a generic frame. Garbage in, generic out.
Third, some things are still hard. Perfect consistency of a material across many frames takes real care. Complex reflections and very specific product finishes can fight you. And accuracy is a hard line, not a preference. Buyers cross-check listings on portals like Domain, and they compare the render to the contract. A render that oversells a view or a ceiling height is a compliance risk, not a clever edit. I would rather scope a project honestly than pretend AI removes every constraint.
None of this is a reason to avoid the tool. It is a reason to use it where it is strongest. Matched to the right project, the results hold up on a large screen and stand next to a traditional render. Mismatched to the wrong one, they disappoint. Knowing the difference is most of the job.
How I would approach your project
If you have a development coming to market, I would start small and honest. Confirm the rights. Pick one hero space. Prove the look on a single frame before we scale to a full set. That keeps the risk low and the quality high, and it is how I work on my own concept pieces too.
I am new as a business, and I am straight about that. What I am not new to is the craft. Three years of making video sit behind every choice I described above. You can judge the results yourself in the work I have made, and decide if the look fits your project. I would rather earn the next job with a real result than a big promise.
If you are weighing this up, talk to me before you spend anywhere else. A short, honest conversation will tell us both whether a render or a real shoot fits your listing. Sometimes the answer is a shoot. When it is, I will say so plainly.
The technology will keep improving. The discipline behind it will not change. Good inputs, true geometry, honest light, careful revisions. Get those right and a plan becomes something a buyer can believe in, months before the first brick is laid.
Have a launch coming up? Start a free pilot → — one property, one finished visual, no cost.
Frequently asked questions
- What is AI architectural visualisation?
- It is the process of turning a building's drawings, elevations, and material schedule into photoreal images and film using AI, before construction. It lets buyers see and feel a home while the site is still a construction fence.
- How accurate is an AI render compared to the finished building?
- It should be highly accurate, because that is the point. I lock the geometry to the plans first, so room sizes, ceiling heights, and window positions are true. Where a finish is not decided yet, I flag it rather than invent one.
- Who owns the copyright in the drawings and renders?
- Usually the developer or the architect, not the agent. Because of that, I do not produce anything until the rights holder has approved the use of the source drawings and renders. Rights approval comes before any picture is made.
- How long does AI architectural visualisation take?
- Most single projects land within one to two weeks. There is no shoot to schedule, so logistics do not drive the timeline. Revision rounds do. The more decided the finishes and layout are, the faster it moves.
- Can you visualise a home that is only a floor plan so far?
- Yes. A floor plan, elevations, and a material schedule are enough to begin. That is exactly the case AI visualisation is built for: an off-the-plan home with nothing yet to photograph.
Planning a property video?
We run a free pilot for a small number of Sydney developers and agencies each month — one property, one finished AI-powered video, no cost.